NAV AS 101 Lesson 13: Printing Account Schedules
Posted: May 20, 2014 Filed under: Uncategorized Leave a comment You’ve got a few options to get account schedules out of NAV. You can print them, export them to Microsoft Excel, or you can even simply copy and paste the results out of NAV and into Excel.
I generally recommend companies choose to use the export to Microsoft Excel function because it allows maximum efficiency with maximum flexibility to produce their financial statements. We’ll go over that in the next post in this series.
If you just need a quick dump to Excel so you can play with the numbers a bit, you can simply select all the rows you have on-screen, right-click and copy, and then right-click and paste into Excel. Be warned that you can only copy what’s actually showing on the screen, so if everything is not showing, you’ve got to rearrange your screen a bit to make this work well.
In addition, you can choose to produce your financial reports using XBRL, but I’m not going to consider that an end-user friendly function for the purposes of this post. See your partner to help you get set up if your company wants to do that.
If you must print, here are some tips to help you make those reports look as good as possible. You can print from two different places in NAV. Things are a little bit different between NAV Classic versions and NAV RTC/2013 versions, so I’ll illustrate them all.
[Warning: some of the images in this post get mighty tiny. Click on any picture to bring it up in it’s very own window to save your eyesight. If you’re reading this one on your phone, you’re out of luck, sorry.]
NAV Classic users
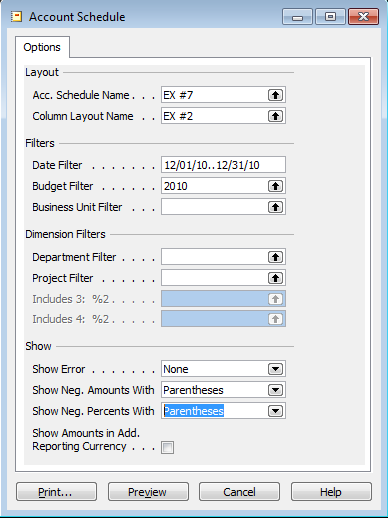
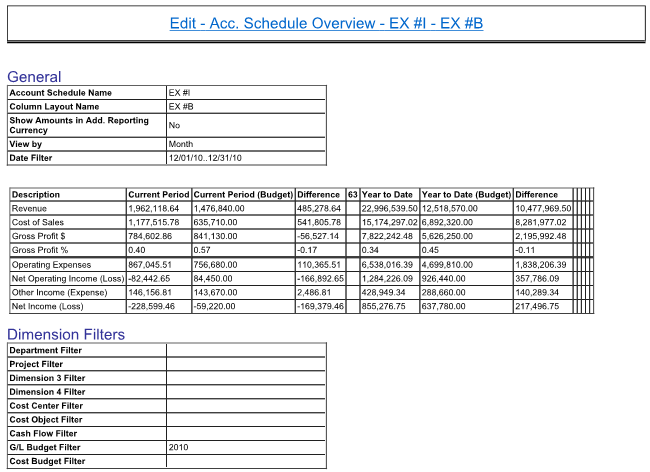
If you elect to print from the account schedules overview screen, choose the function button on the bottom right of the screen and choose Print. This brings up the following configuration screen where you can set a few parameters, and then choose Print.
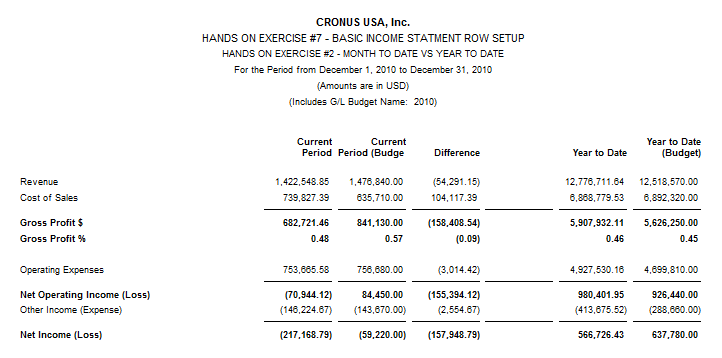
The result you’ll get will look like the screen shot below. There are a few things to note about the result. The information at the top of the page comes from a number of sources. Some of the fields you can control directly, like the row setup and column layout names. In this example, I would want to remove the words “hands on exercise” if I was going to print my schedules. Some of the other fields are coded into the report, so if you want them changed, you’ll need to go into the Object Designer or have your partner change that for you.
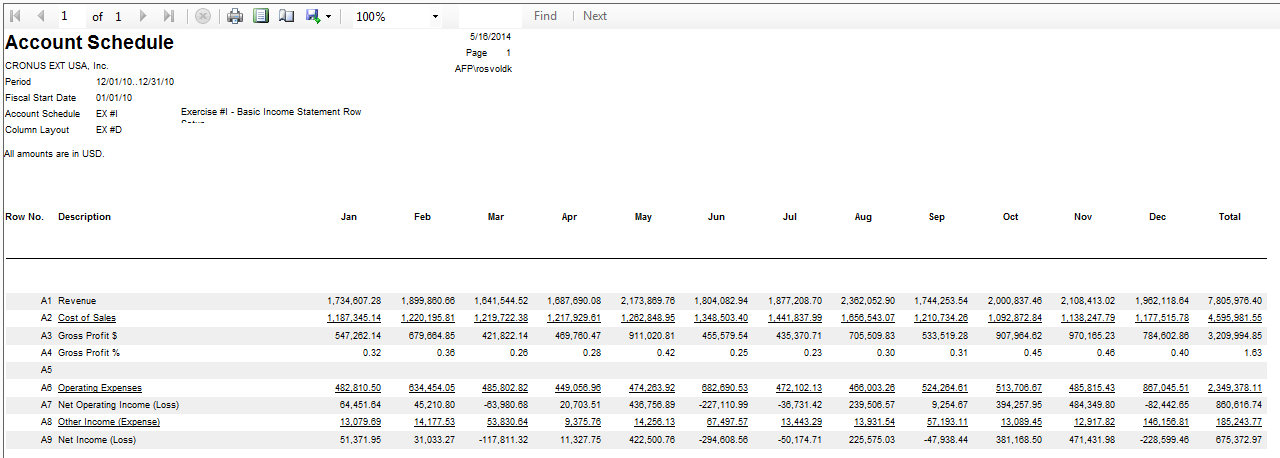
The last thing is that the default print setup only allows seven columns, including the description. In this example, I’ve got eight, so my report cuts off the difference column for my year to date numbers. In order to fix that, I can either reduce the number of columns I have, maybe by removing the spacer in the middle, or I can print from a different area.
In Classic, go to Financial Management=>General Ledger=>Reports=>Financial Statement=>Account Schedule, Landscape. You’ll see now the report is oriented landscape instead of portrait, so now we can see the difference column that was missing.
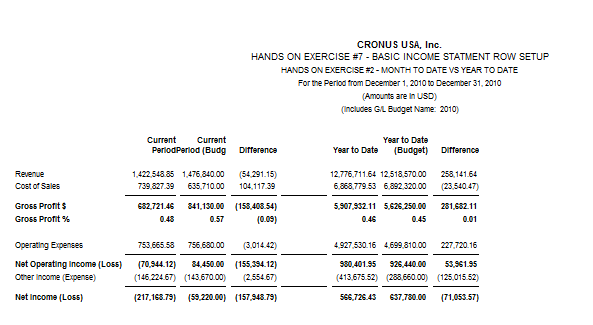
This comes in pretty handy when you’ve got a trended month report to print, which allows 14 columns, including the description, on your report.

NAV Role Tailored Client (RTC) users
The RTC has made a few changes to printing account schedules, but not many. The most notable is printing from the overview looks significantly different. I would consider this as unusable as a financial statement. When you actually print it from the reports menu, it looks exactly the same as the Classic version, shown above, and you still need to choose between the portrait and landscape versions of account schedules.
NAV 2013 users
In NAV2013, we’ve got one huge step forward and a couple small steps back with printing. The huge step forward is that we no longer have to choose between portrait and landscape and, we get the same report when printing whether we print from the overview or from the reports menu. We’ve lost the ability to do some small things, like putting brackets around negative numbers, and now the row numbers show up on the report, which I’m not a thrilled about.

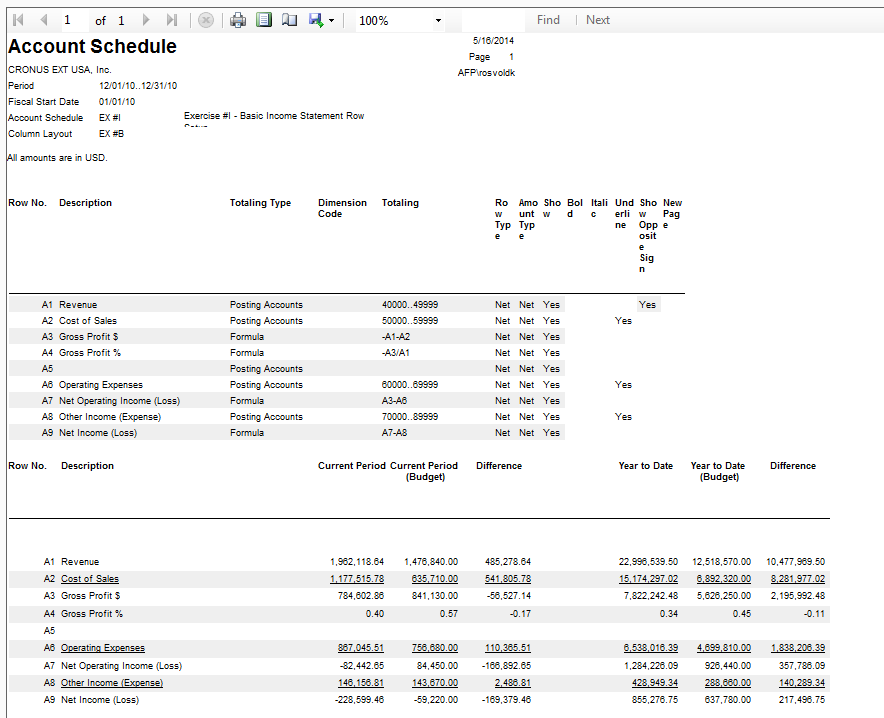
There’s one hidden bonus feature in 2013. If you click a little box in the setup labeled “show account schedule setup”, you get a report that shows your design view right next to your end-user view, which makes it super easy to compare your design and results. We’ve been able to see the layout previously by printing the account schedules layout report, but it’s nice that it’s been added as an option when printing the schedules, all in the same place.
This posting is part of the NAV Account Schedules 101 series. Find the entire list of lessons here.
Don’t forget to visit the Account Schedule Formulas and Account Schedule Examples pages if you’re looking for even more ideas on how to improve your financial reporting using account schedules with Microsoft Dynamics NAV.
")

